Tutorial
The Apache DevLake Config UI provides a user-friendly interface for configuring the data collection process. To access the Config UI, please visit http://localhost:4000.
Basic Configuration
To ensure the proper functioning of DevLake, follow these two key steps:
Step 1 - Add Data Connections
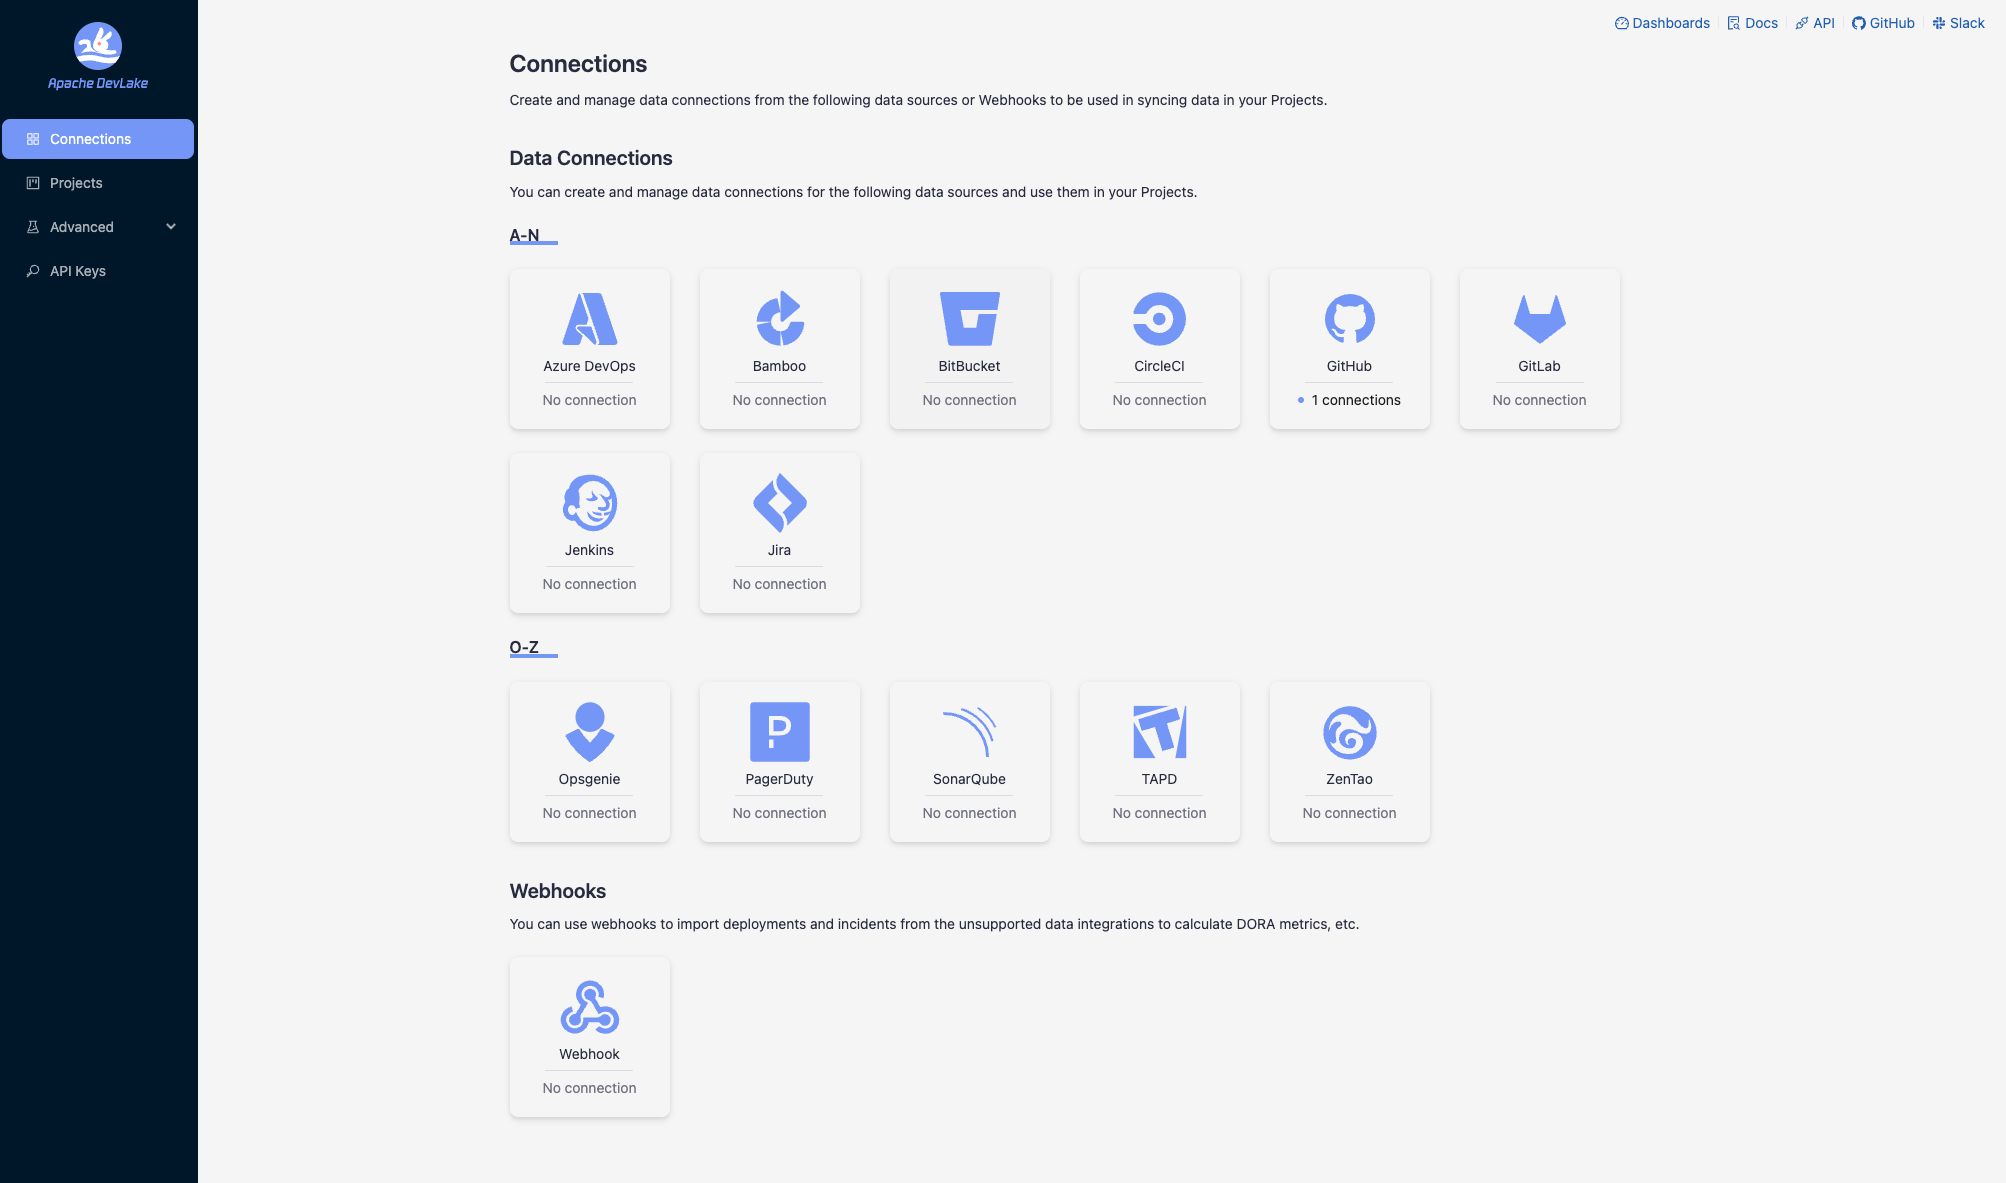
Step 1.1 - Add a connection. Configure the endpoint and authentication details to connect to the source data.
Step 1.2 - Add data scope, such as Git repositories, issue boards, or CI/CD pipelines, to determine what data should be collected.
Step 1.3 - Add scope config (optional). Define the specific data entities within the data scope for collection or apply transformation rules to the raw API responses.
Step 2 - Collect Data in a Project
Step 2.1 - Create a project. DevLake assesses DORA metrics at the project level. For more information on organizing DevLake projects, please refer to how to organize DevLake projects for more details.
Step 2.2 - Associate connection(s) with the project. When associating a connection with a project, you can select specific data scopes. All connections linked to the same project will be considered part of the same project for calculating DORA metrics.
Step 2.3 - Set the synchronization policy. Specify the sync frequency, time range and the skip-on-fail option for your data.
Step 2.4 - Start data collection. Choose the desired mode for collecting data.
Step 3 - Check the Data in Grafana Dashboards
To view the collected data, click on the "Dashboards" button located in the top-right corner of Config UI. For detailed instructions, please refer to the Grafana manuals.
Examples
For detailed examples, please refer to the respective documentation files available in this folder, such as GitHub configuration, GitLab configuration, Jira configuration and more. They provide step-by-step instructions and guidance for configuring DevLake with different platforms.
Q&A
Q1. What are the specific sync policies to configure?
Time Filter: This allows you to select the desired time range for syncing data, optimizing the collection process.
Frequency: You can determine the frequency of data synchronization by choosing a sync frequency option or specifying a cron code for a custom schedule.
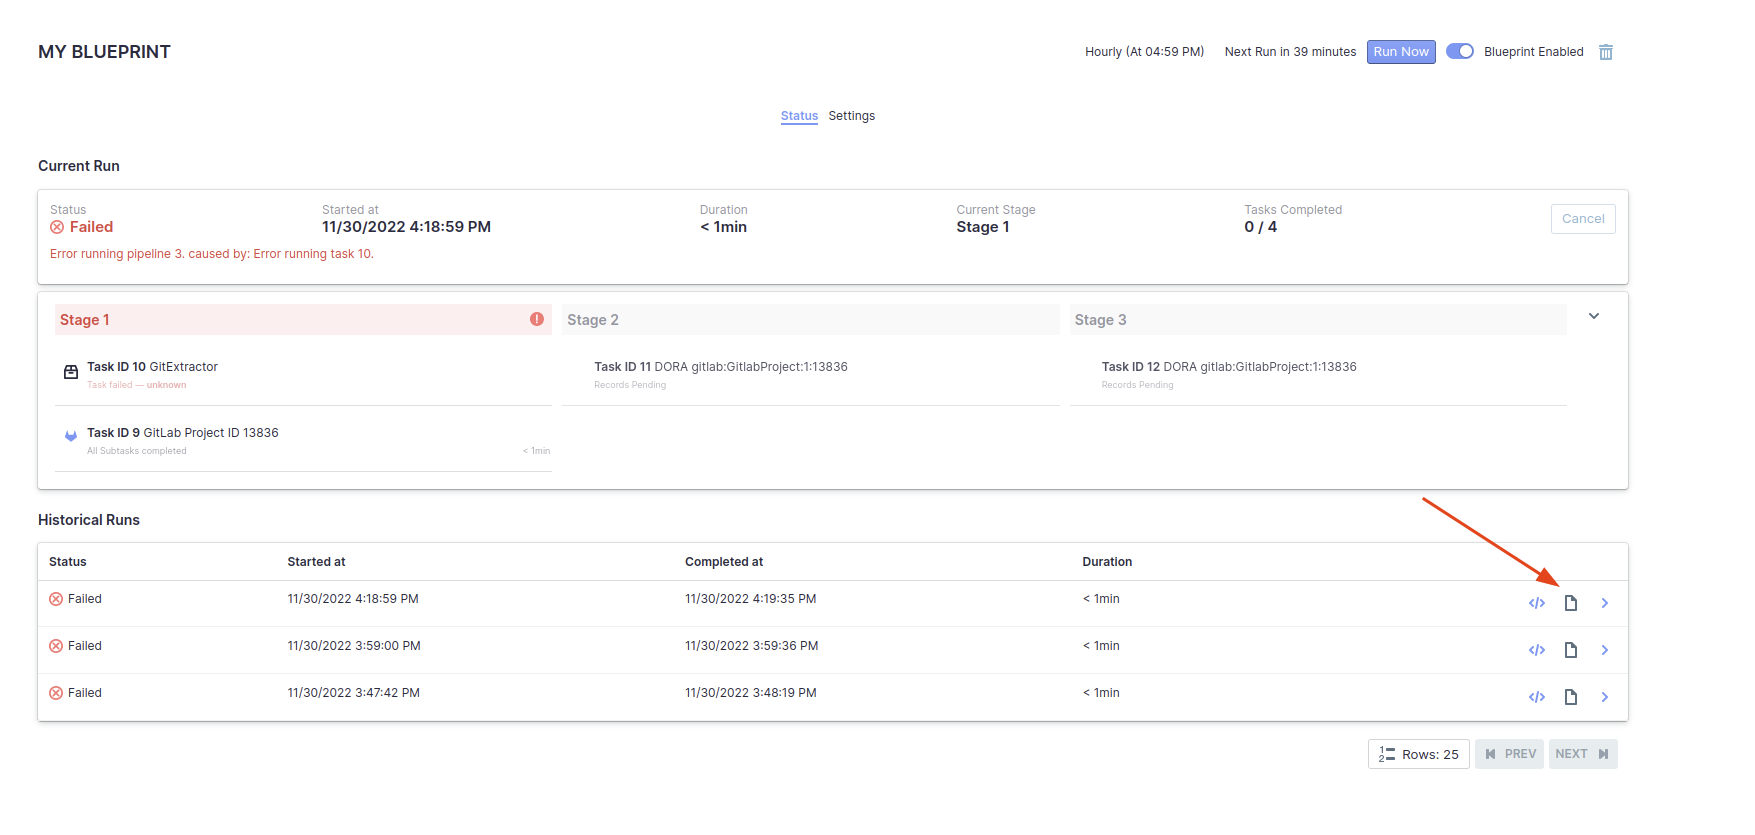
Running Policy: By default, the "Skip failed tasks" option is enabled. This helps prevent data loss in scenarios where you are collecting a large volume of data (e.g., 10+ GitHub repositories, Jira boards, etc.). When a task fails, this policy allows the pipeline to continue running, preserving the data collected by successful tasks. You can rerun the failed tasks later from the blueprint's detail page.
Q2. What data collection modes do DevLake support?
Three modes.
- Collect Data (Default): This mode retrieves data within the specified time range. Tools and entities that support incremental refresh will utilize this method, while those that only support full refresh will perform a full refresh. This mode is the default choice for recurring pipelines.
- Collect Data in Full Refresh Mode: In this mode, all existing data within the designated time range will be deleted and re-collected. It is useful for removing outdated or irrelevant data from DevLake that no longer exists in the original tools.
- Re-transform Data: This mode does not collect new data. Instead, it applies the latest transformation rules from the Scope Config to the existing data.
Troubleshooting
1. What can be done when a data collection failed or partially succeeded?
First, re-run the failed task once all other tasks have completed. If the task still fails, proceed to the next steps.
Capture a screenshot of the error message associated with the failed task.
Download the logs from the pipeline for further analysis.
Visit the GitHub repository and create a bug report. Include the captured screenshot and the downloaded logs in the bug report.
For other problems, please check the troubleshooting doc, create an issue, or contact us on Slack.