PagerDuty
Visit Config UI at: http://localhost:4000.
Step 1 - Add Data Connections
Step 1.1 - Authentication
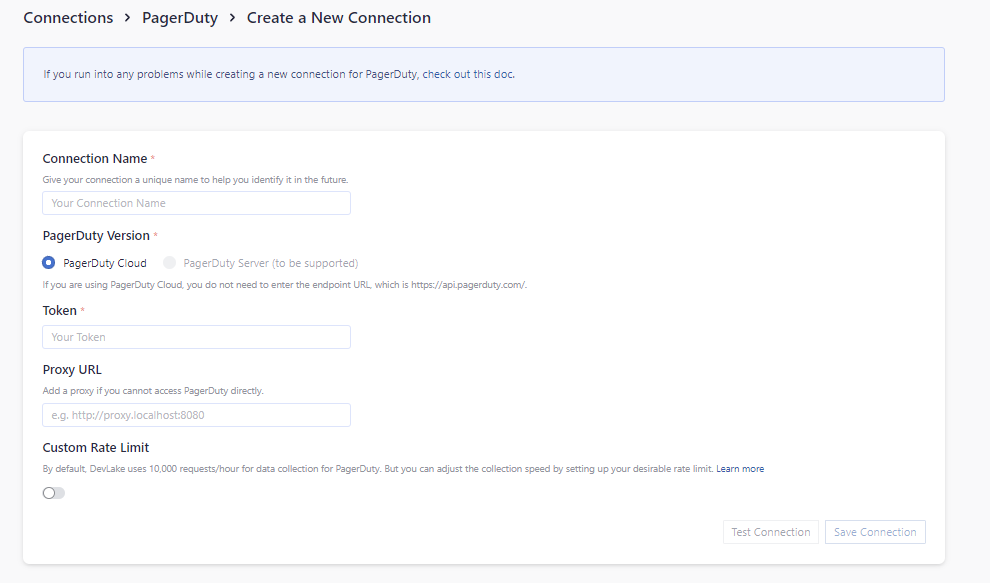
Connection Name
Give your connection a unique name to help you identify it in the future.
Token
Paste your PagerDuty personal access token (PAT) here. You may make it a Read-Only token for the plugin's purposes.
Test and Save Connection
Click Test Connection, if the connection is successful, click Save Connection to add the connection.
Step 1.2 - Add Data Scopes
Choose the PagerDuty services to collect.
Only PagerDuty incidents will be collected. The data will be stored in table issues and incidents.
Note: PagerDuty plugin does not support any scope config.
Step 2 - Collect PagerDuty Data in a Project
Step 2.1 - Create a Project
Collecting PagerDuty data requires creating a project first.
Navigate to the Projects page from the side menu and create a new project.
Step 2.2 - Add a PagerDuty Connection
Create a project, add the PagerDuty connection.
Please note: if you don't see the repositories you are looking for, please check if you have added them to the connection first.
Step 2.3 - Set the Sync Policy (Optional)
There are three settings for Sync Policy:
- Data Time Range: You can select the time range of the data you wish to collect. The default is set to the past six months.
- Sync Frequency: You can choose how often you would like to sync your data in this step by selecting a sync frequency option or enter a cron code to specify your preferred schedule.
- Skip Failed Tasks: sometime a few tasks may fail in a long pipeline; you can choose to skip them to avoid spending more time in running the pipeline all over again.
Step 2.4 - Start Data Collection
Click on Collect Data to start collecting data for the whole project, including the SonarQube data.
You can also trigger the data sync at the General Settings/Status page (The previous Blueprint/Status page).
Troubleshooting
If you run into any problem, please check the Troubleshooting or create an issue