CircleCI
Visit Config UI at : http://localhost:4000 and go to Connections page.
Step 1 - Add Data Connections
Step 1.1 - Authentication
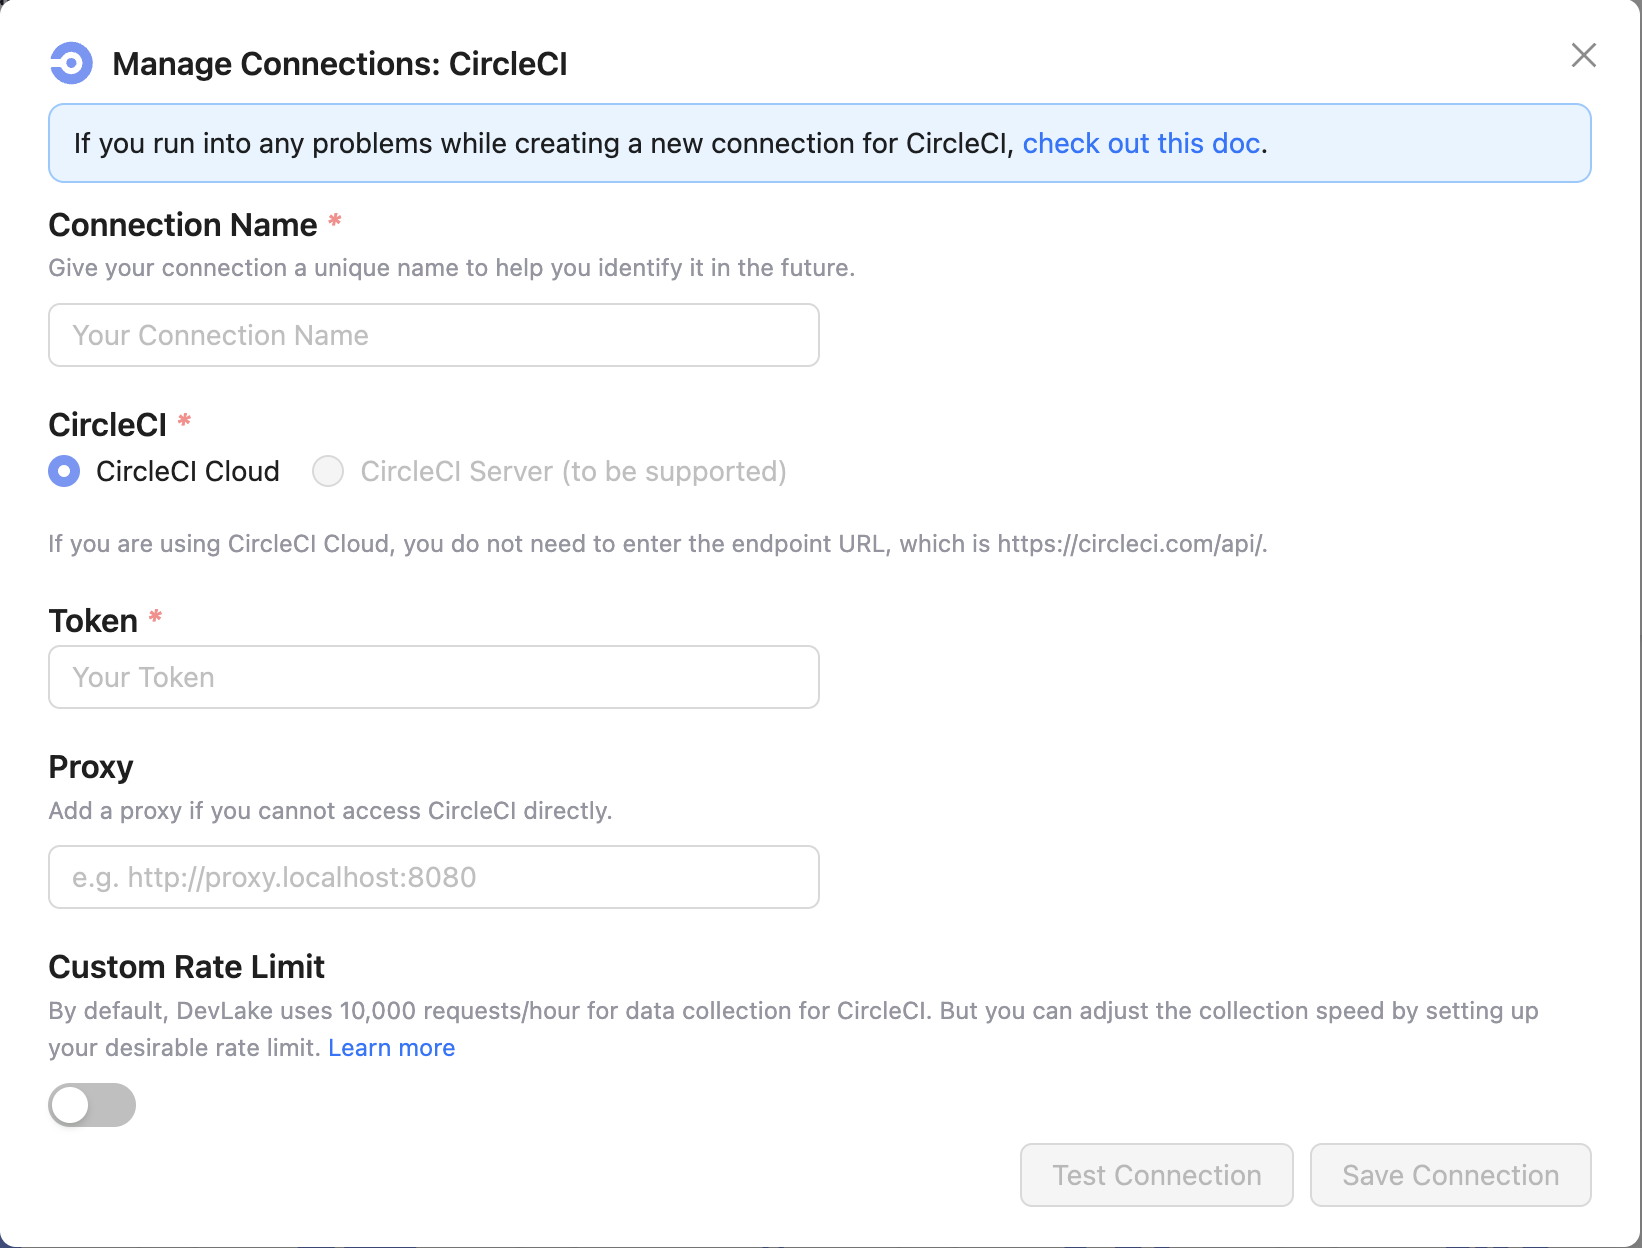
Connection Name
Give your connection a unique name to help you identify it in the future.
Endpoint URL
For CircleCI, you do not need to enter the REST API endpoint URL, which is always https://circleci.com/api/.
Token
Create a CircleCI Personal API Token for DevLake.
Use a token from a CircleCI user who can access the organization and projects you want to collect. For SSO-enabled organizations, see CircleCI's Personal API tokens with SSO.
Proxy URL (Optional)
If you are behind a corporate firewall or VPN you may need to utilize a proxy server. Enter a valid proxy server address on your network, e.g. http://your-proxy-server.com:1080
Fixed Rate Limit (Optional)
DevLake uses a dynamic rate limit to collect CircleCI data. You can adjust the rate limit if you want to increase or lower the speed. Learn more about CircleCI API rate limit.
Test and Save Connection
Click Test Connection, if the connection is successful, click Save Connection to add the connection.
Step 1.2 - Configure Data Scope
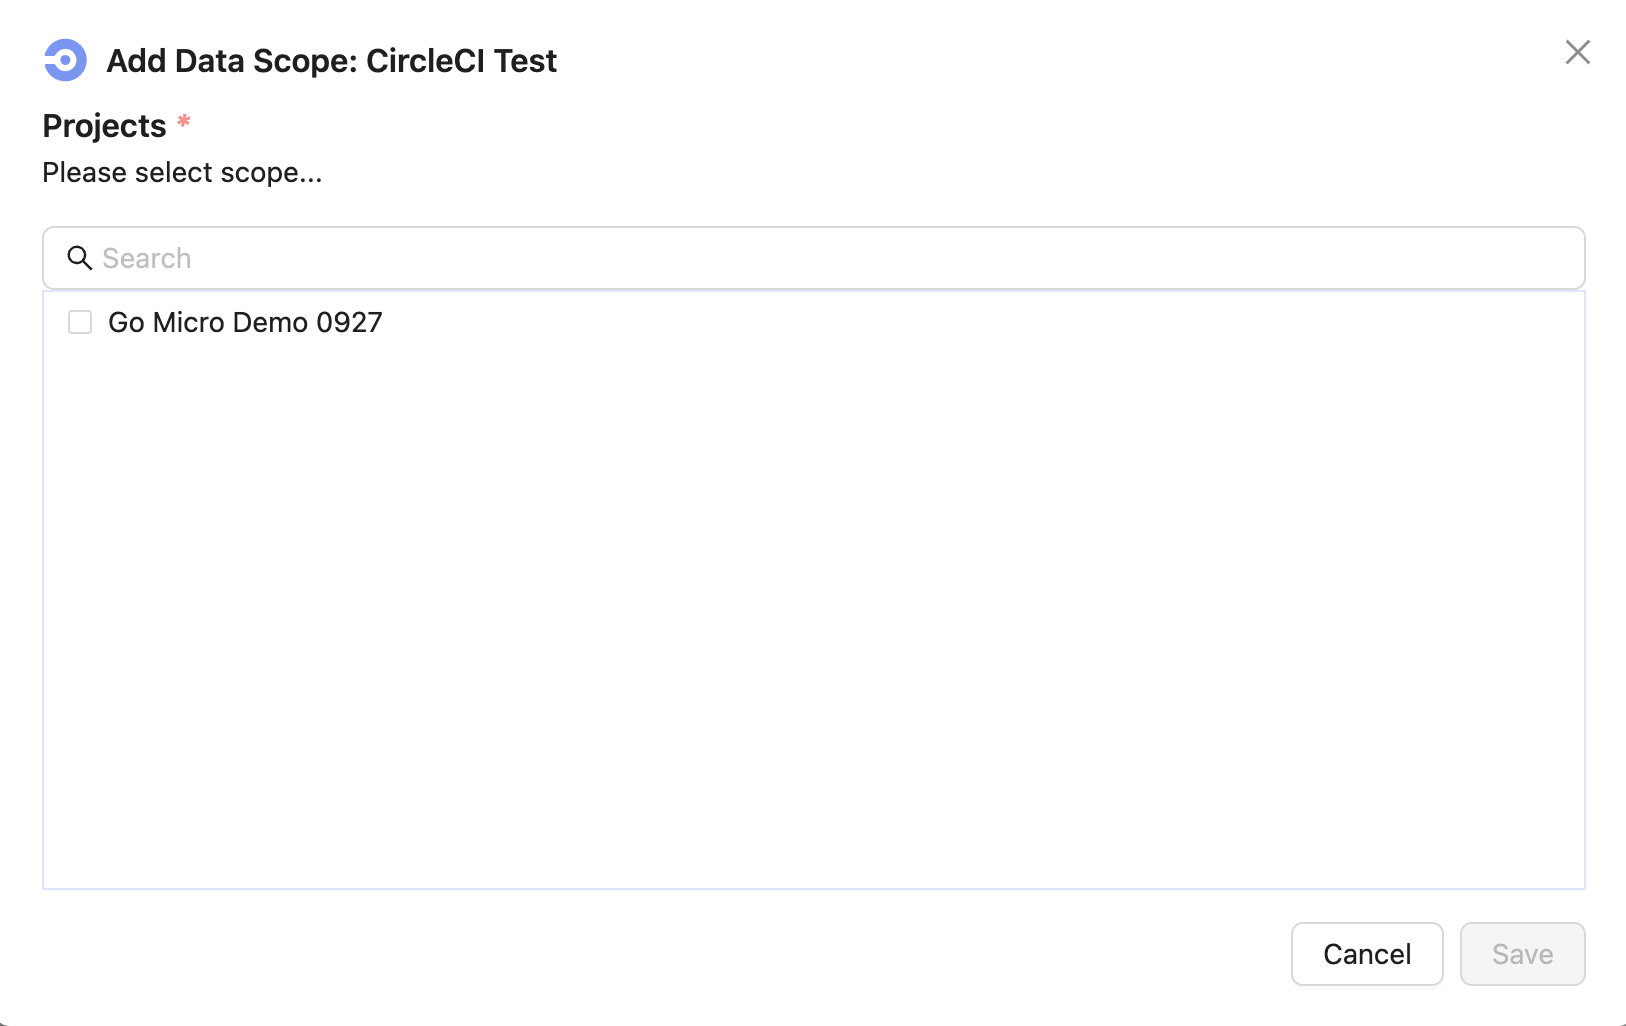
Projects
Select the CircleCI projects to collect.
DevLake can only detect projects that you follow in CircleCI.
Step 1.3 - Adding Scope Config (Optional)
Scope config includes two sets of configurations:
- Data Entities
- Transformations
Data Entities
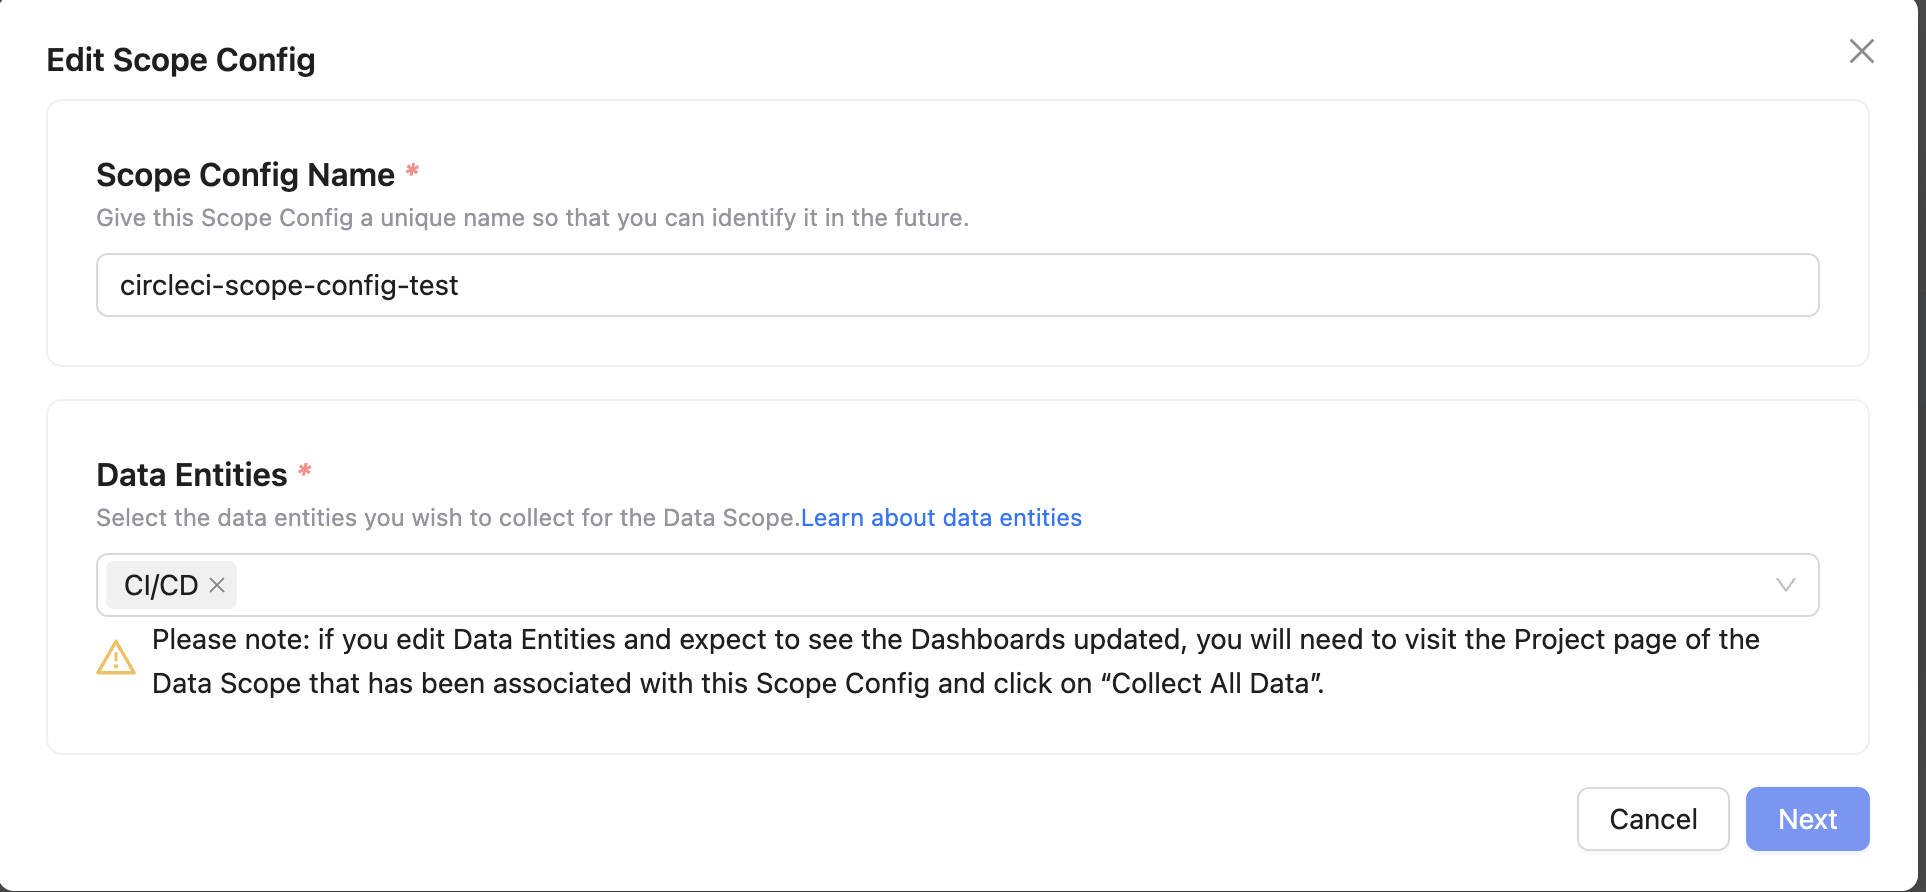
CircleCI only supports CI/CD domain entities, which include CircleCI projects, workflows, jobs, and etc.
Transformations
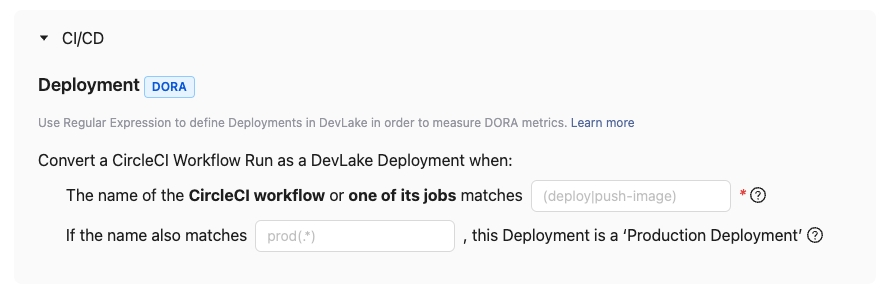
This set of configurations is used for calculating DORA metrics.
You can transform a CircleCI workflow run into a DevLake deployment with the following regex:
- Deployment: The given regex should match the name of the Circle workflow run or one of its jobs to be considered as a deployment. For example, if the workflow run used for deployment is named 'build-and-push-image', you can input
(push-image). To make the regex case insensitive, you can include(?i)before the regex. - Environment: The given regex should match the workflow run's name to be considered a deployment within the production environment. For instance, if the workflow run used for deployment is named 'deploy-to-prod', you can input
(prod). To make the regex case insensitive, you can include (?i) before the regex.
Step 2 - Collect Data in a Project
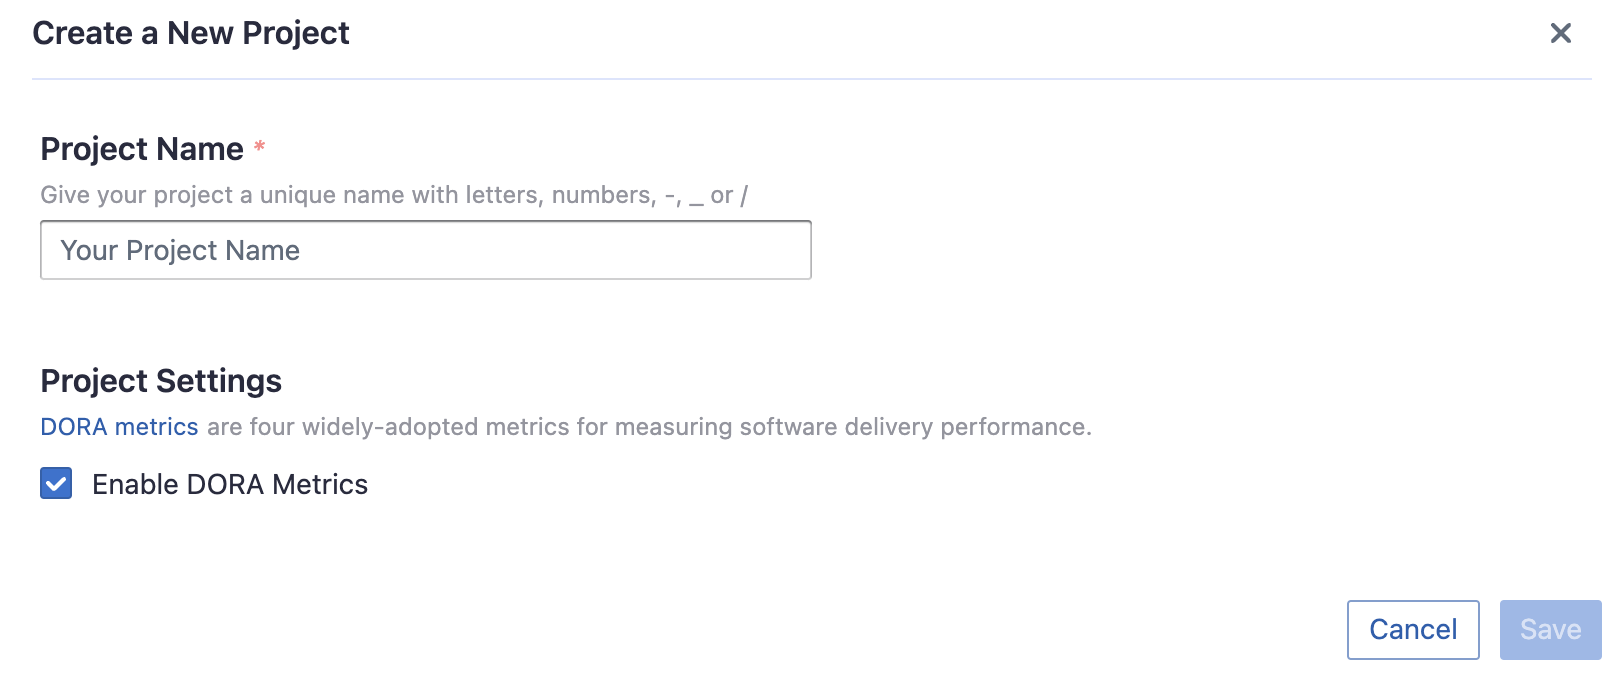
Step 2.1 - Create a Project
Collecting CircleCI data requires creating a project first. You can visit the Project page from the side menu and create a new project by following the instructions on the user interface.
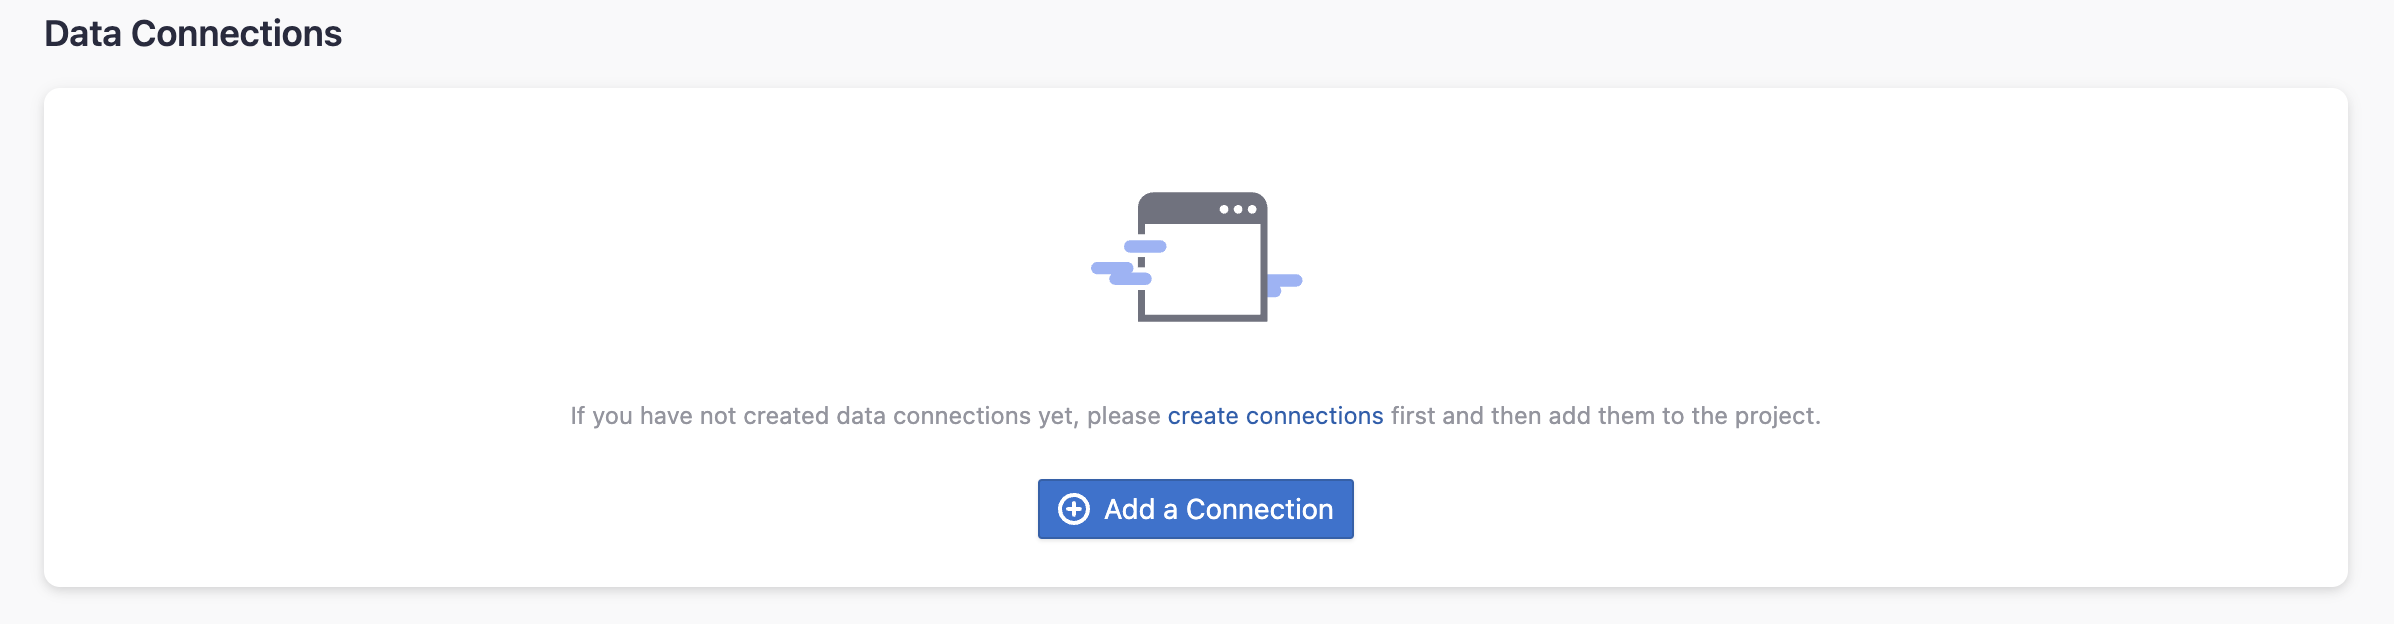
Step 2.2 - Add a CircleCI Connection
You can add a previously configured CircleCI connection to the project and select the boards for which you wish to collect the data for. Please note: if you don't see the repositories you are looking for, please check if you have added them to the connection first.
Step 2.3 - Set the Sync Policy
There are three settings for Sync Policy:
- Data Time Range: You can select the time range of the data you wish to collect. The default is set to the past six months.
- Sync Frequency: You can choose how often you would like to sync your data in this step by selecting a sync frequency option or enter a cron code to specify your preferred schedule.
- Skip Failed Tasks: sometime a few tasks may fail in a long pipeline; you can choose to skip them to avoid spending more time in running the pipeline all over again.

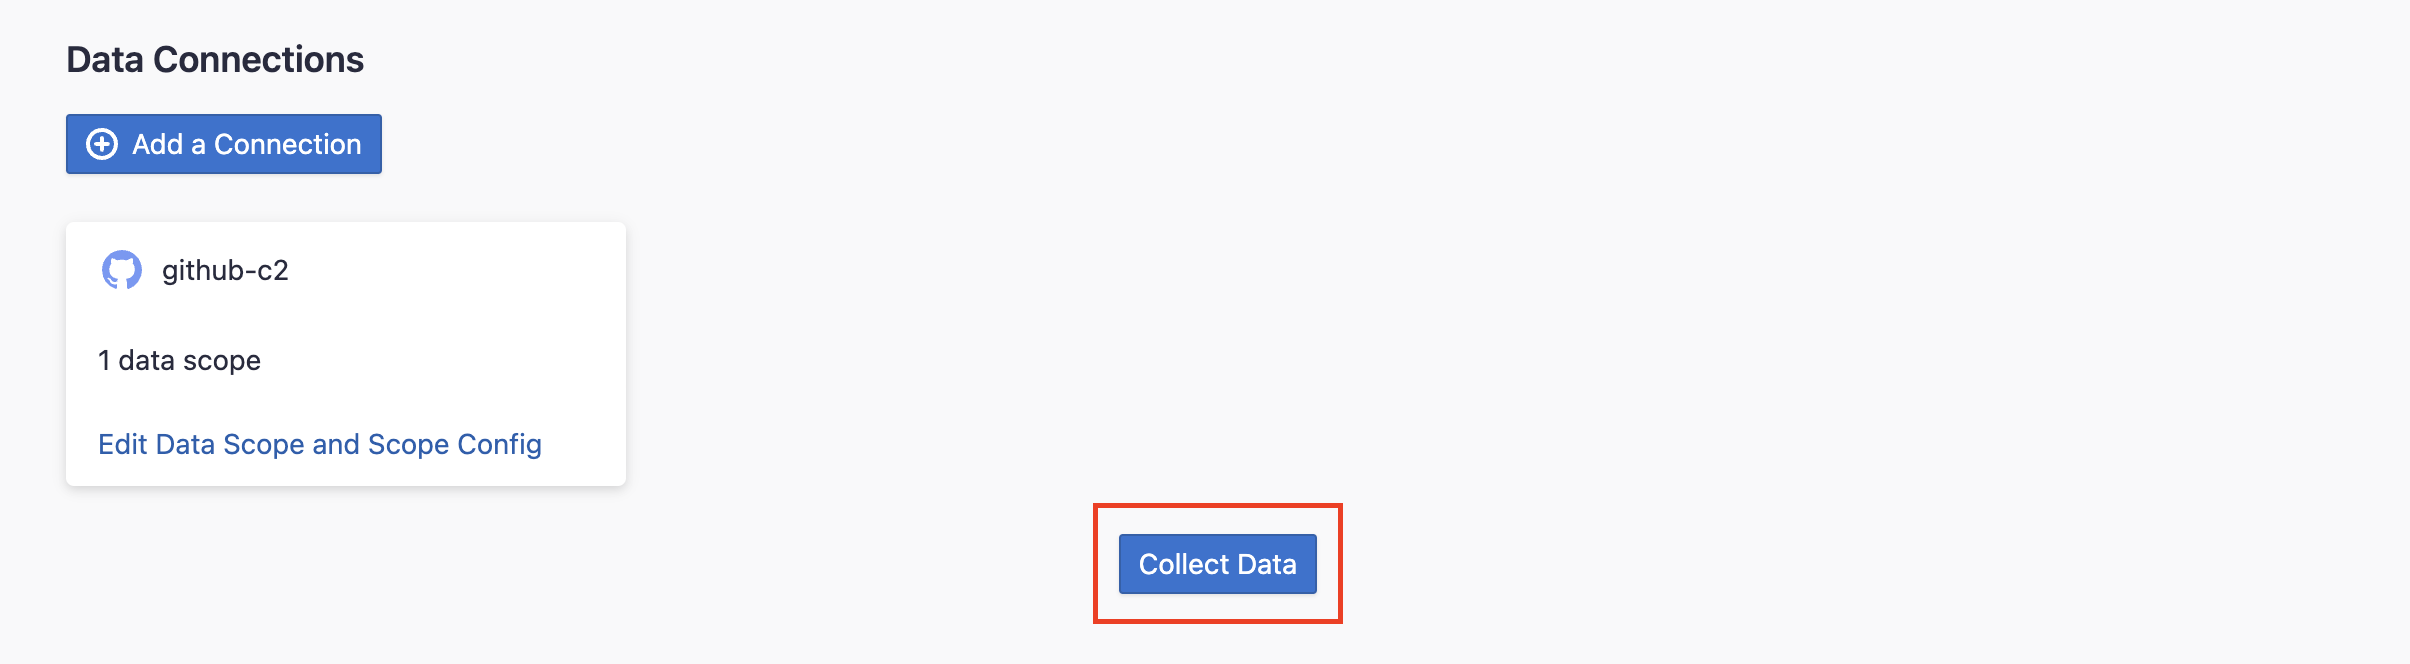
Step 2.4 - Start Data Collection
Click on "Collect Data" to start collecting data for the whole project. You can check the status in the Status tab on the same page.
Troubleshooting
If you run into any problem, please check the Troubleshooting or create an issue