Configuring BitBucket(Beta)
Visit config-ui: http://localhost:4000 and go to Connections page.
Step 1 - Add Data Connections
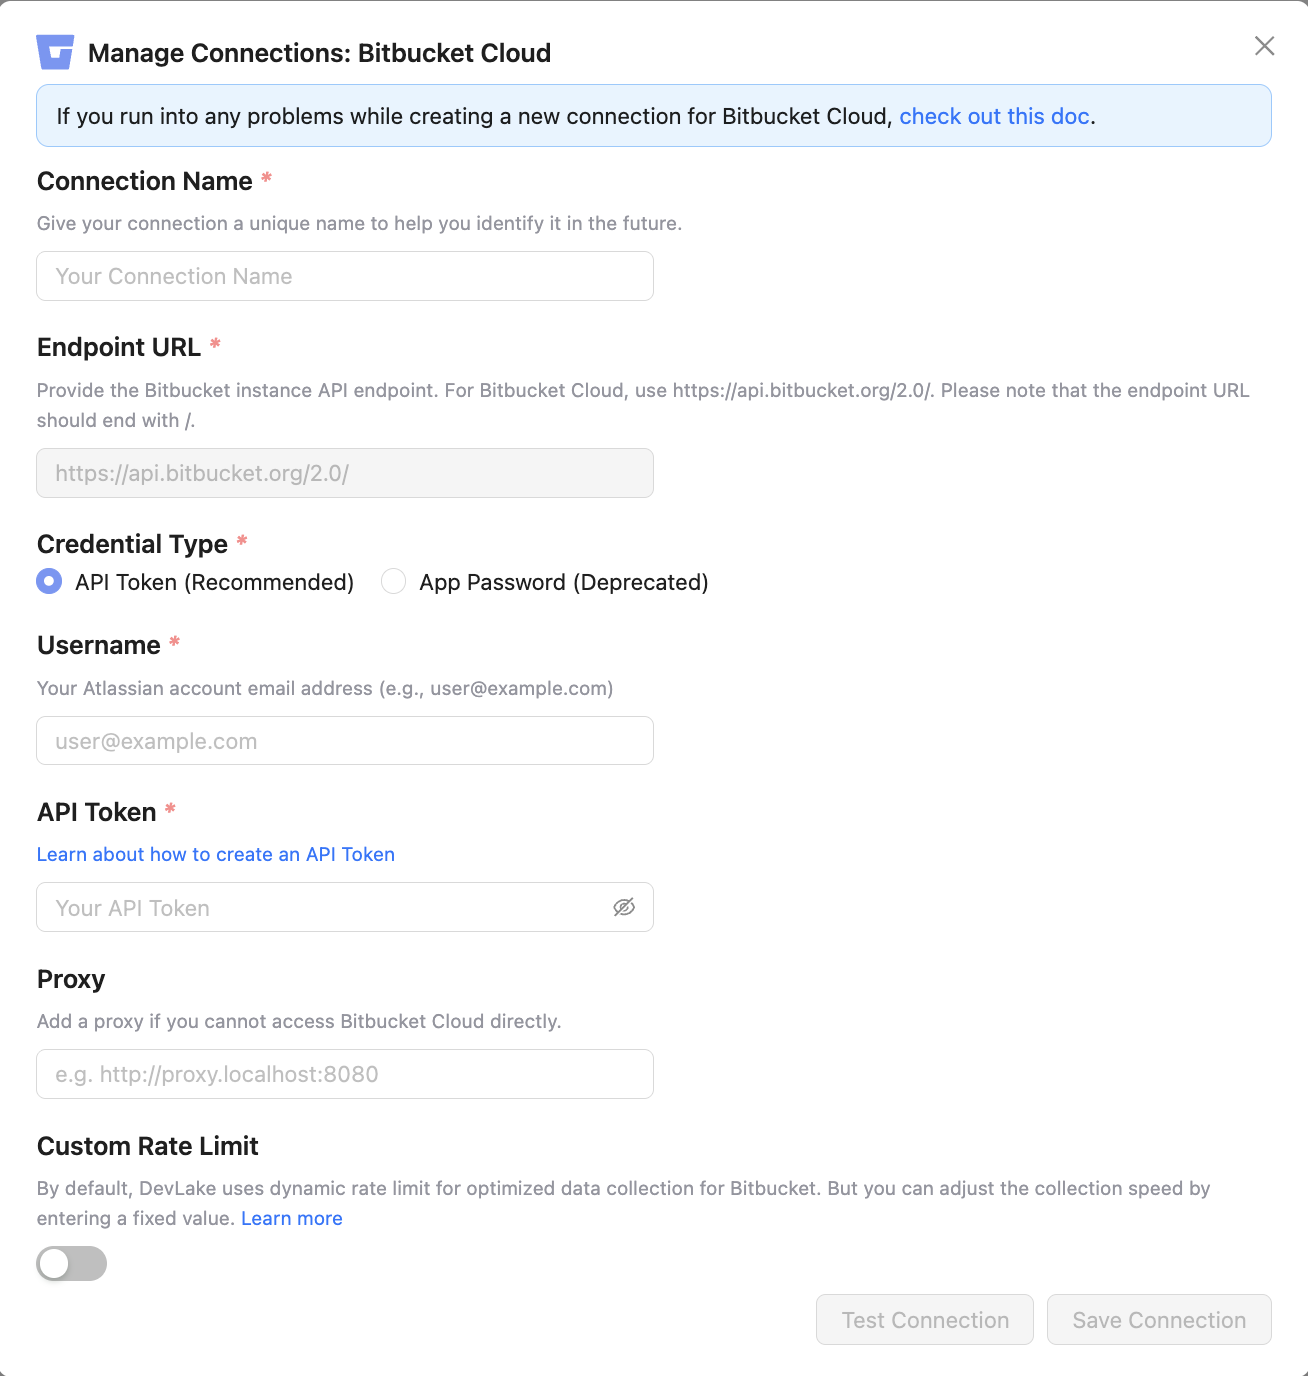
Connection Name
Name your connection.
Endpoint URL
This should be a valid REST API endpoint for BitBucket: https://api.bitbucket.org/2.0/. The endpoint URL should end with /.
DevLake will support BitBucket Server in the future.
Authentication
BitBucket username and app password are required to add a connection. Learn about how to create a BitBucket app password.
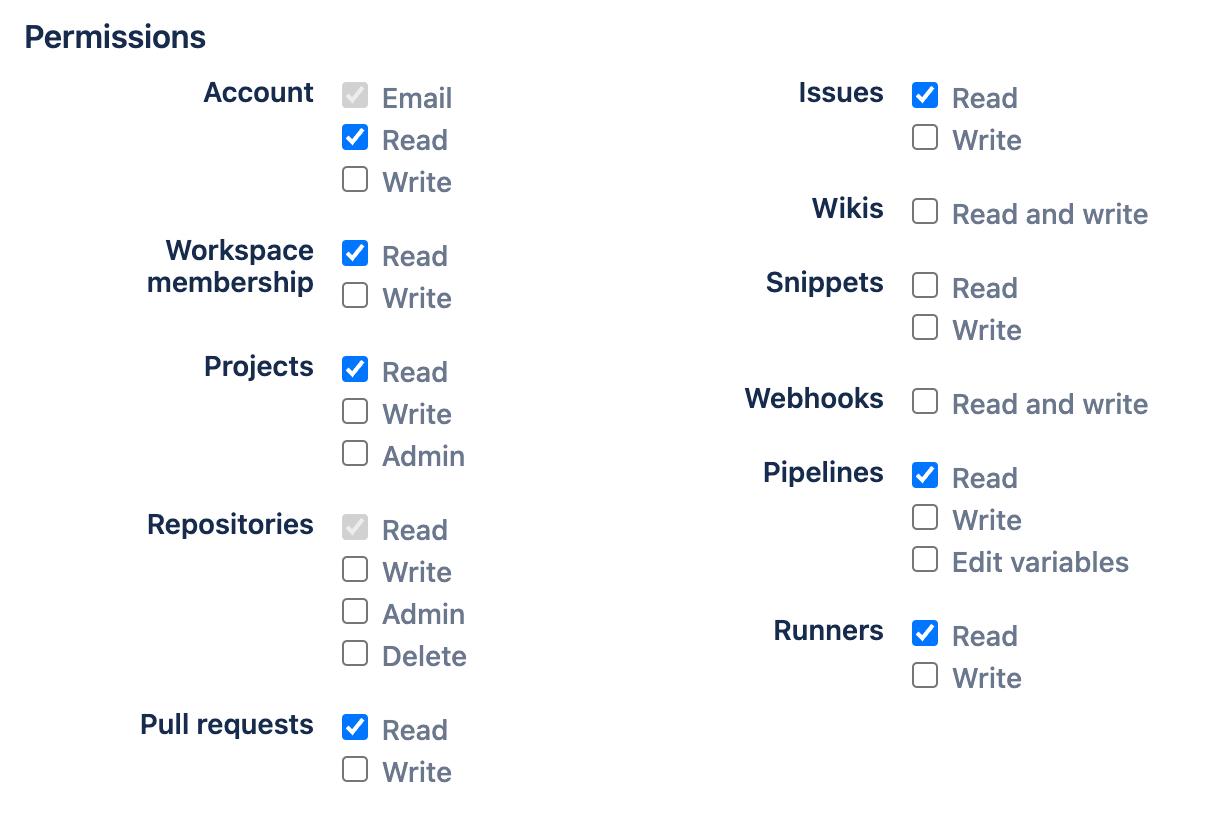
The following permissions are required to collect data from BitBucket repositories:
- Account:Read
- Workspace membership:Read
- Projects:Read
- Repositories:Read
- Pull requests:Read
- Issues:Read
- Pipelines:Read
- Runners:Read
Proxy URL (Optional)
If you are behind a corporate firewall or VPN you may need to utilize a proxy server. Enter a valid proxy server address on your network, e.g. http://your-proxy-server.com:1080
Fixed Rate Limit (Optional)
DevLake uses a dynamic rate limit to collect BitBucket data. You can adjust the rate limit if you want to increase or lower the speed.
The maximum rate limit for different entities in BitBucket(Cloud) is 60,000 or 1,000 requests/hour. Please do not use a rate that exceeds this number.
Test and Save Connection
Click Test Connection, if the connection is successful, click Save Connection to add the connection.
Step 2 - Configure Blueprint
Similar to other beta plugins, BitBucket does not support project, which means, you can only collect BitBucket data via blueprint's advanced mode.
Please go to the Blueprints page and switch to advanced mode. See how to use advanced mode and JSON examples.
Troubleshooting
If you run into any problem, please check the Troubleshooting or create an issue