Zentao
Visit Config UI at: http://localhost:4000 and go to Connections page.
Step 1 - Add Data Connections
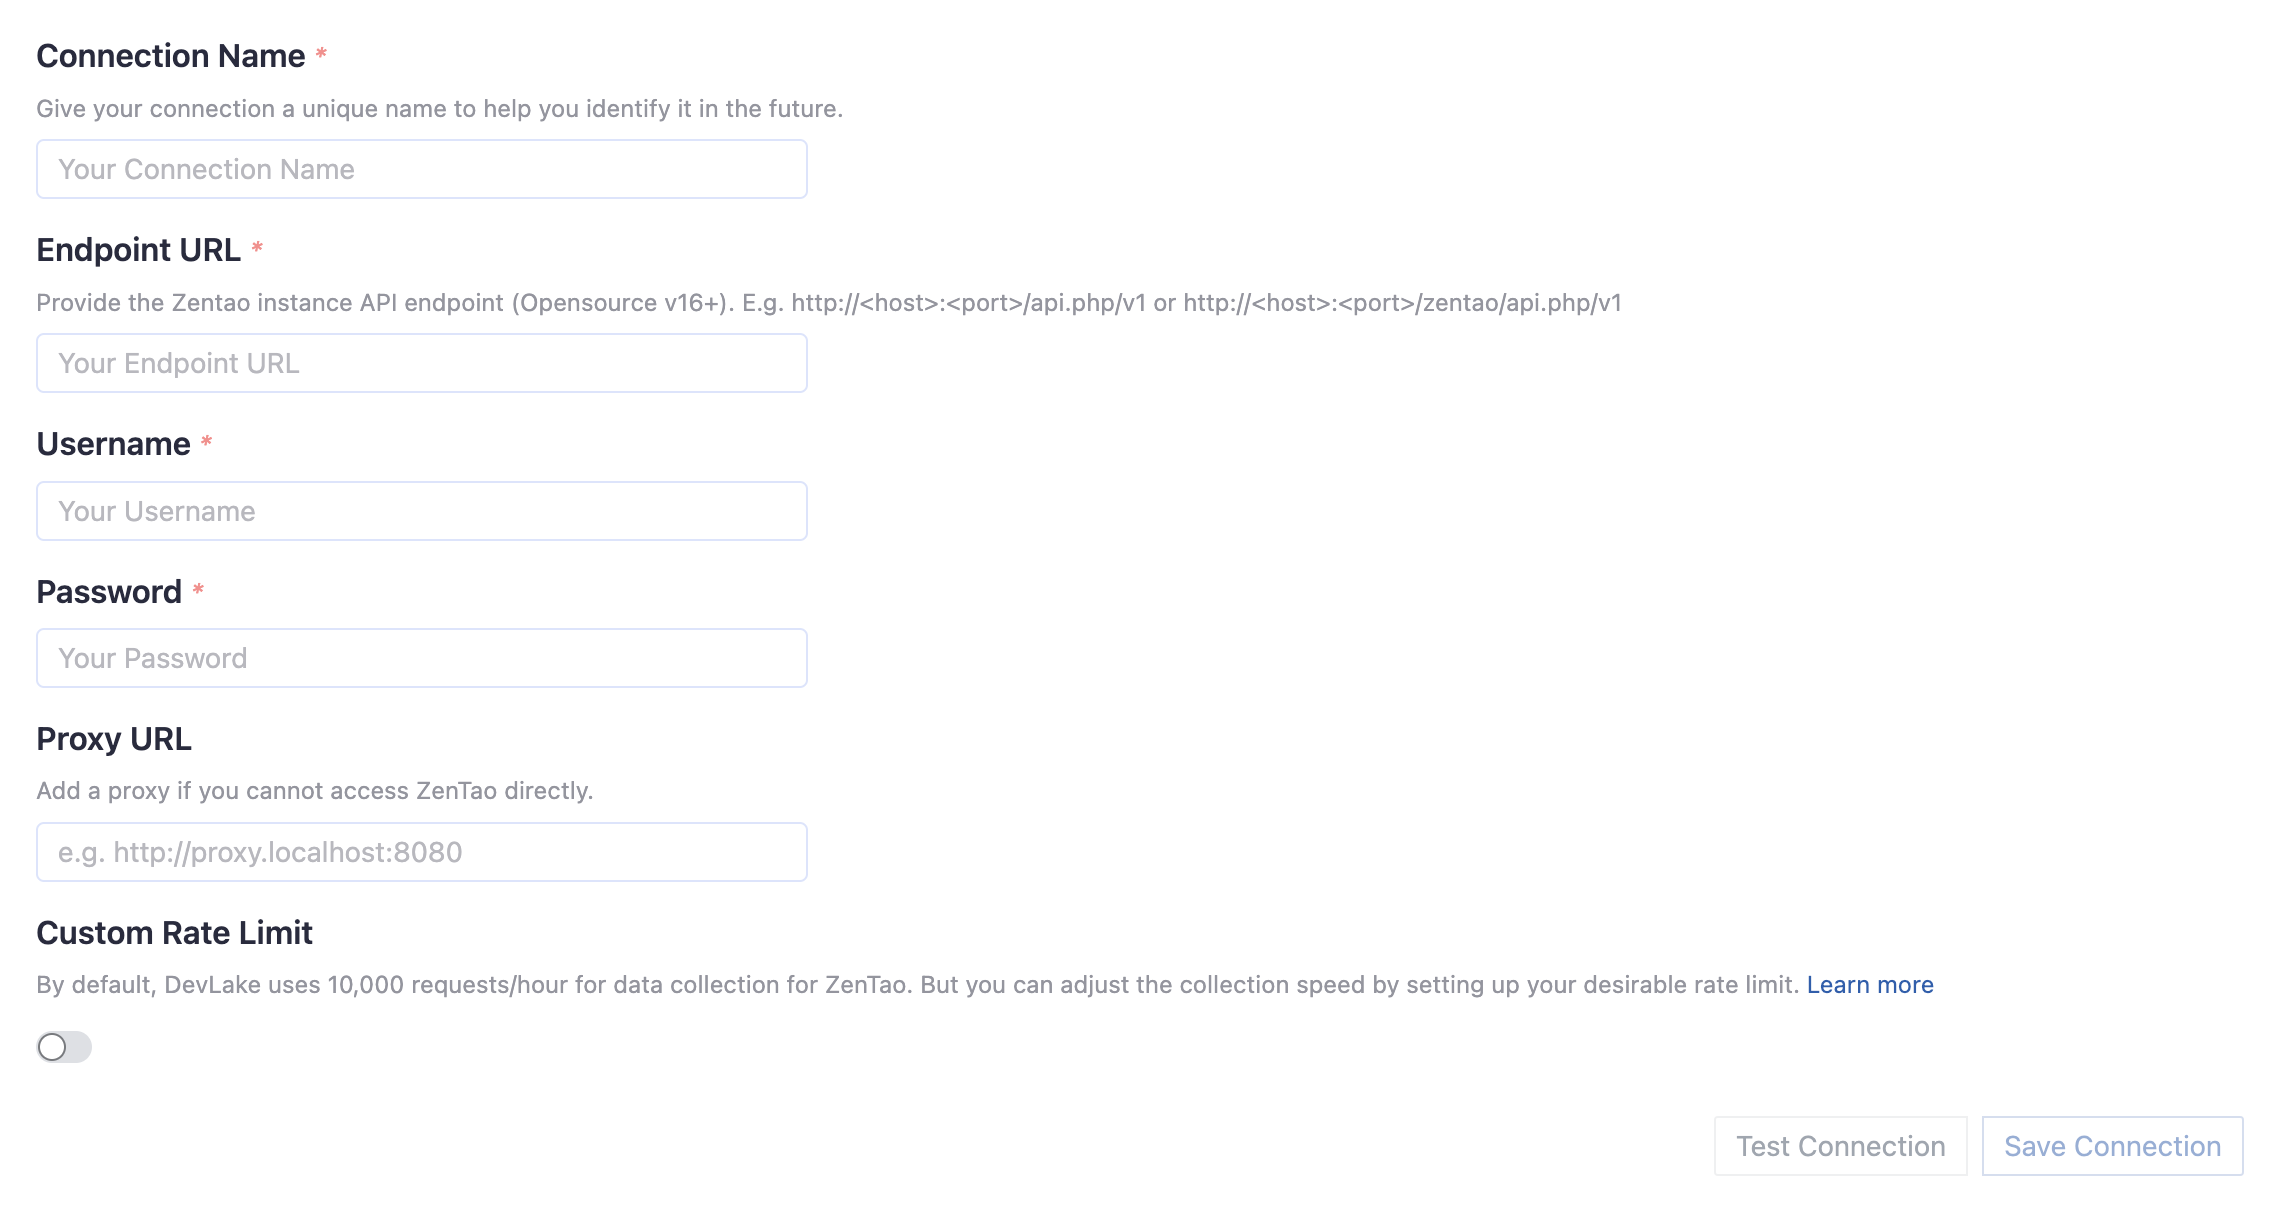
Connection Name
Give your connection a unique name to help you identify it in the future.
Endpoint URL
Please ensure that the REST API endpoint URL is valid. It should be in the format of either http://<host>:<port>/api.php/v1/ or http://<host>:<port>/zentao/api.php/v1/.
If the initial test fails, please try another endpoint URL as the URL depends on where Zentao is deployed. Additionally, please ensure that the endpoint URL ends with a forward slash /.
Username/Password
Input the username and password of your Zentao account.
Proxy URL (Optional)
If you are behind a corporate firewall or VPN you may need to utilize a proxy server. Enter a valid proxy server address on your network, e.g. http://your-proxy-server.com:1080
Test and Save Connection
Click Test Connection, if the connection is successful, click Save Connection to add the connection.
Step 2 - Setting Data Scope

Projects and Products
Please select the Zentao products for collecting stories/bugs and the Zentao projects for collecting executions. Both will also collect information on accounts/departments.
Data Entities
Usually, you don't have to modify this part. However, if you don't want to collect certain Lento entities, you can unselect some entities to accerlerate the collection speed.
- Issue Tracking: Lento issues, issue comments, issue labels, etc.
Step 3 - Adding Transformation Rules (Optional)
Zentao does not have transformation and this step will be skipped.
Step 4 - Setting Sync Policy
You can choose how often you would like to sync your data in this step by selecting a sync frequency option or enter a cron code to specify your prefered schedule.
Troubleshooting
If you run into any problem, please check the Troubleshooting or create an issue